How to refill a Copic marker
Share
Copic: Designed to Last a Lifetime

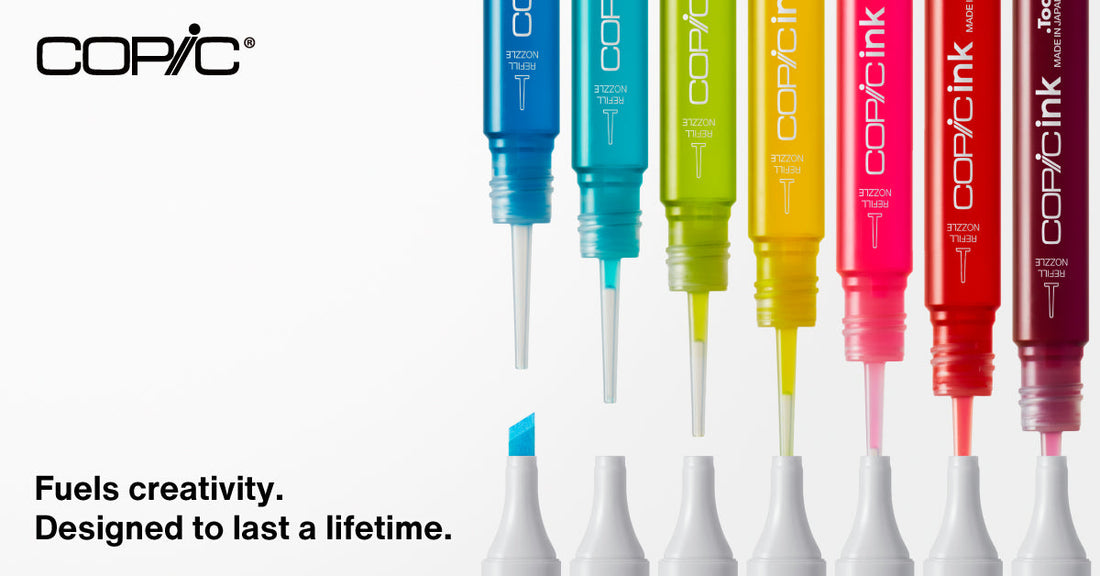
When listing the best features of Copic markers, one key aspect always stands out: all Copic markers are refillable. Buying a Copic marker doesn’t mean purchasing, using, and then throwing it away. A Copic marker is a tool and an investment.
Refilling your markers is even easier with Copic Ink. Just follow these six simple steps.
 1.
1.
Remove both caps from the marker you want to refill. Opening both ends during the refill process ensures that no pressure builds up inside the marker, preventing ink from leaking later.
2.
Use the Copic Tweezer to remove the chisel tip. We recommend removing the broad nib because it is the sturdiest and won’t be damaged by the grip of the tweezer.
 3.
3.
insert the desired Copic Ink directly into the marker body. The recommended refill amounts are:
1.4 ml for Copic Ciao
1.8 ml for Copic Sketch
2.5 ml for Copic Classic
3.5 ml for Copic Wide
 4.
4.
Remove the Copic Ink bottle from the marker. We recommend placing a paper towel underneath, as a few drops of ink may spill.
 5.
5.
Reinsert the nib using the tweezer. If done correctly, the nib will fit snugly back into the marker and won’t move.
 6.
6.
Recap the marker and lay it flat on a table. Letting the marker rest on a flat surface allows the ink to distribute evenly between both tips.
Refilling your markers instead of buying new ones helps the environment and extends the lifespan of your tools.
Copic markers are an investment—protect yours by refilling them with Copic Ink!
Discover more!

